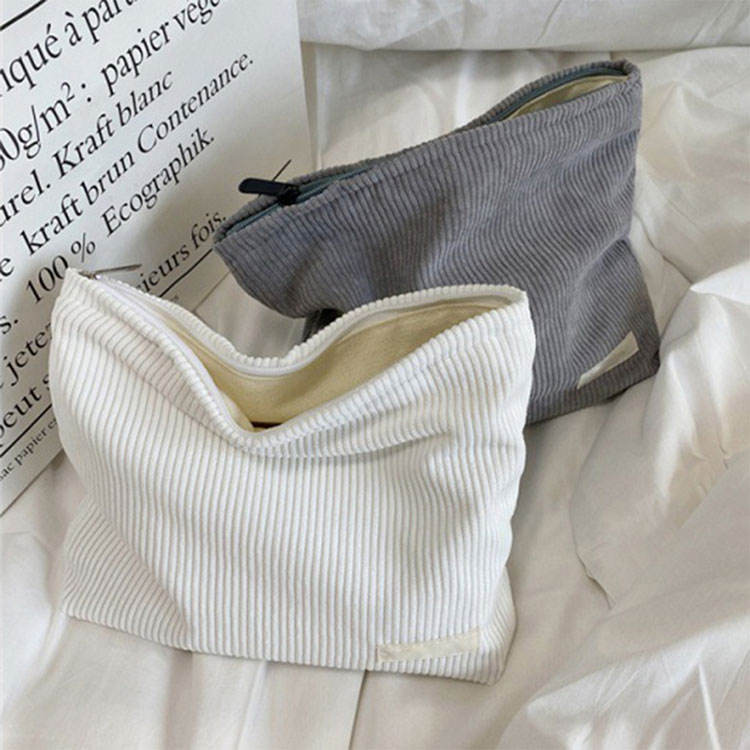
how to make a drawstring bag

Making a drawstring bag is a fun and relatively simple DIY project.
Steps:
Cut Your Fabric:
Decide on the size of your bag and cut two rectangular pieces of fabric. Keep in mind that the final dimensions of your bag will be a bit smaller due to seam allowances.
Place Fabric Right Sides Together:
Place the two fabric pieces on top of each other with the right sides facing inwards.
Sew the Sides:
Use a sewing machine or hand stitch to sew along the sides of the fabric, leaving the top open. Sew about 1/2 inch from the edge, and reinforce the stitching at the top to ensure durability.
Create the Hem at the Top:
Fold down the top edge of the fabric on each side to create a hem. Sew along the folded edge to secure the hem in place.
Fold and Sew the Casing:
Along the top edge, fold down the fabric again, this time creating a larger fold to create a casing for the drawstring. Sew along the lower edge of the casing, leaving enough space for the drawstring to pass through.
Insert the Drawstring:
Attach a safety pin or bodkin to one end of the drawstring. Insert it through one side of the casing, all the way around the bag, and then back out through the same opening. Repeat on the other side, so both ends of the drawstring are on the same side.
Secure the Drawstring:
Tie the ends of the drawstring together in a knot to prevent it from slipping back into the casing.
Finishing Touches:
Trim any loose threads and make sure all seams are secure. Turn the bag right side out.


